Design Process
The OPTC system is a calibration system that comprises a framework made with an opaque material and coated internally with a reflectance standard. The framework includes a tube-like mount that accommodates the diffuse reflectance probe that is put in by the user, in this case, a surgeon. Inside this mount exists clamps that hold the probe in place allowing for accurate measurements. This framework would be kept on a flat surface in the operating room. It would interact with the probe, as mentioned before, which would be inserted into the human body and thus have indirect contact with the body. The reflectance standard utilized in the device is Spectralon which is a heat-resistant polymer which has the highest diffuse reflectance available.
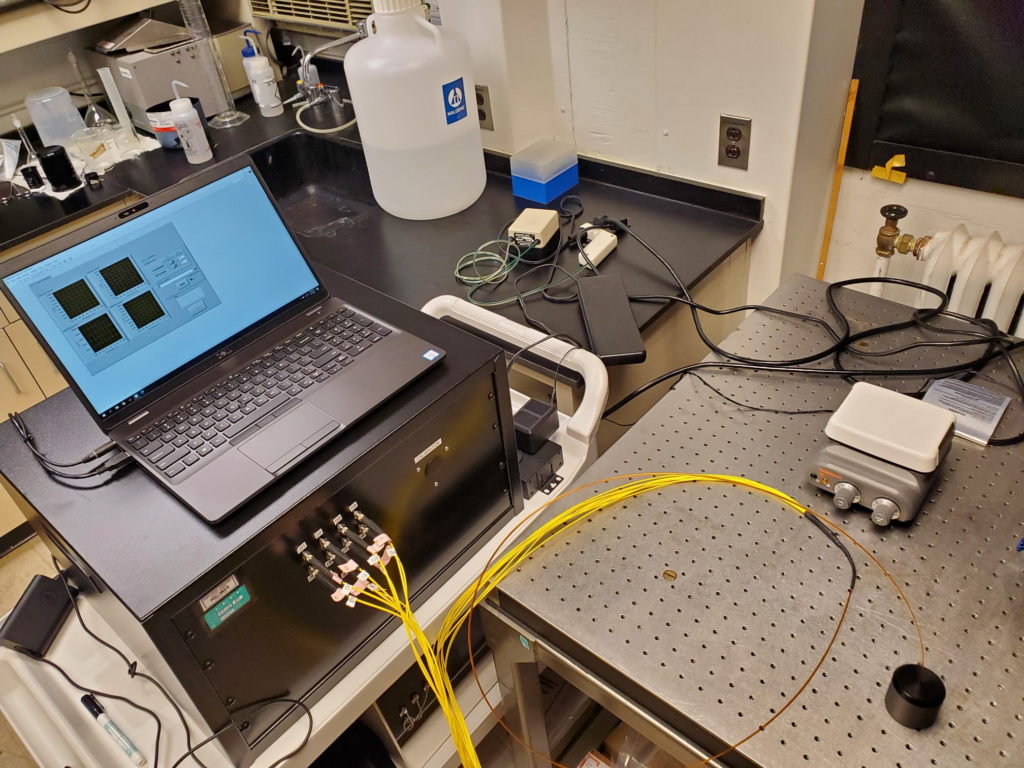
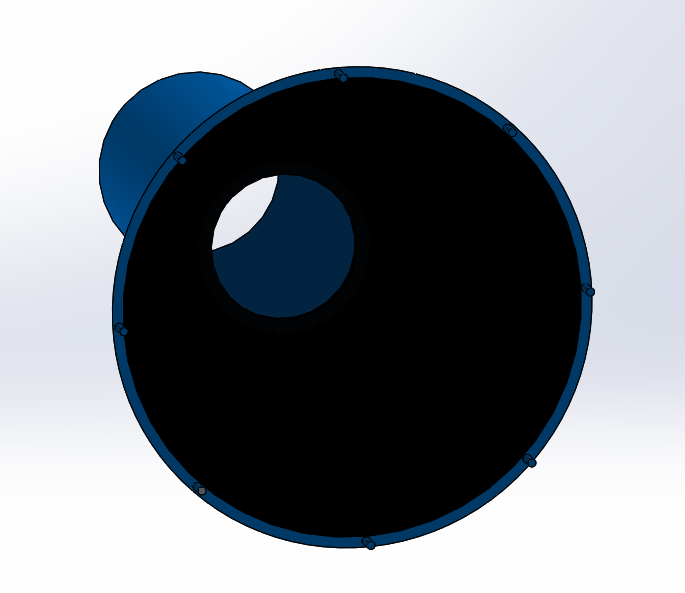
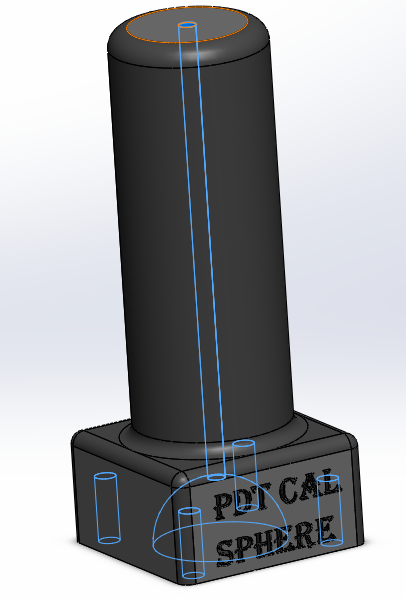
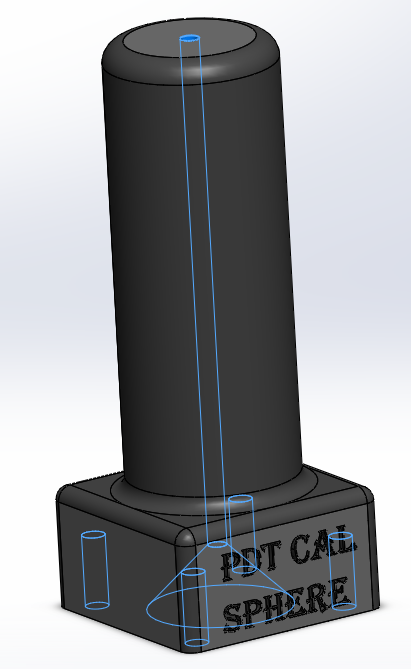
The following image is the entire system using our Final Prototype:
In order to reach this final design, we had to first brainstorm, research, etc. different solutions to the main needs/wants of precision, opacity, sterility, and minimization of secondary reflections. A main discussion point was regarding methods to keep the probe in place. This included clamps that can be manually pushed in on the sides of the device, a cushion/foam on the inside sides of the device that keeps the optical probe from moving around, screw indents/outdents on the probe and mount, and an extension on the lip of the device that opens into the cone where the light source is emitted. Each of these solutions has its own benefits and drawbacks, and a 3D model was created to get a visual understanding of what they would entail
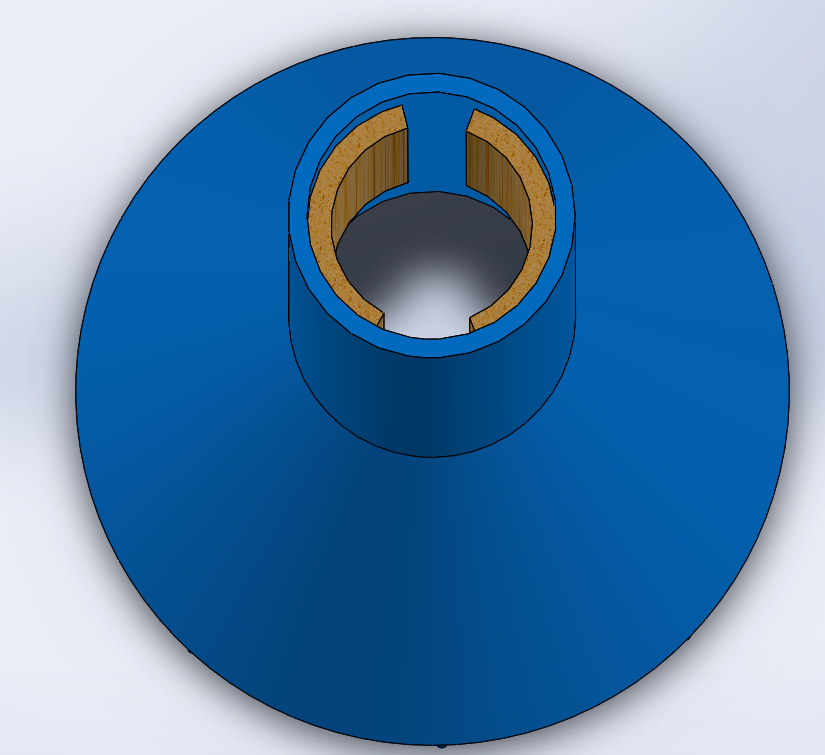
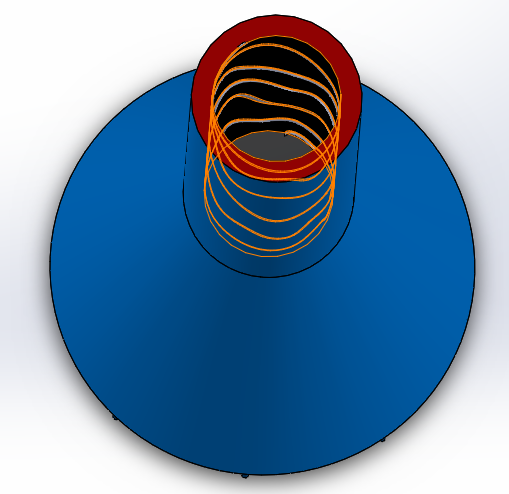
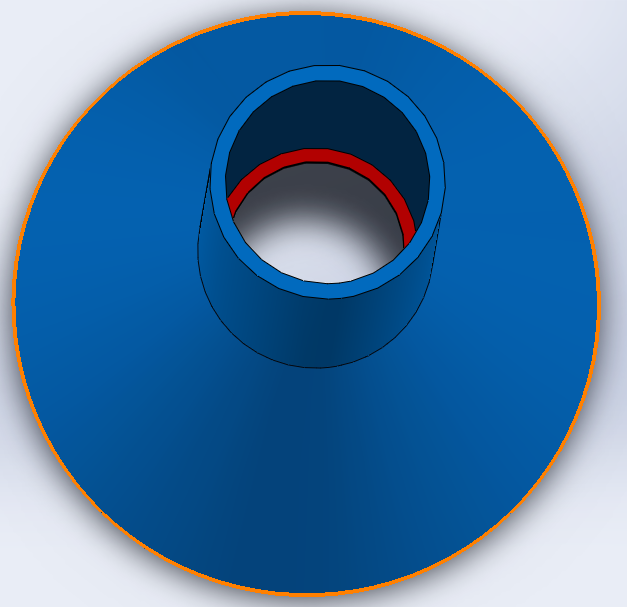
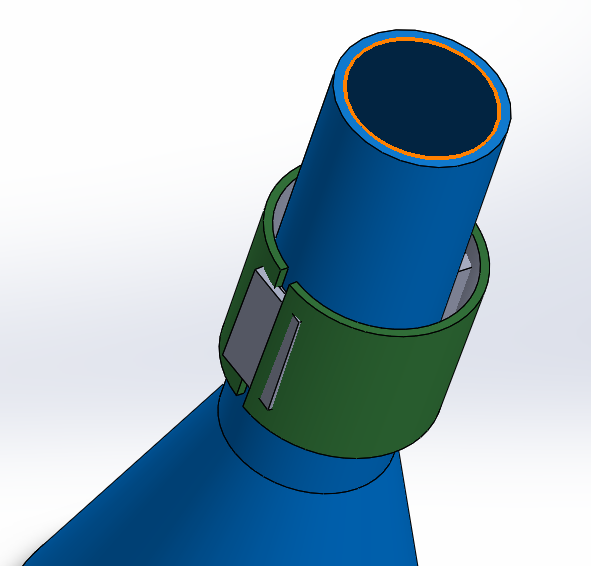
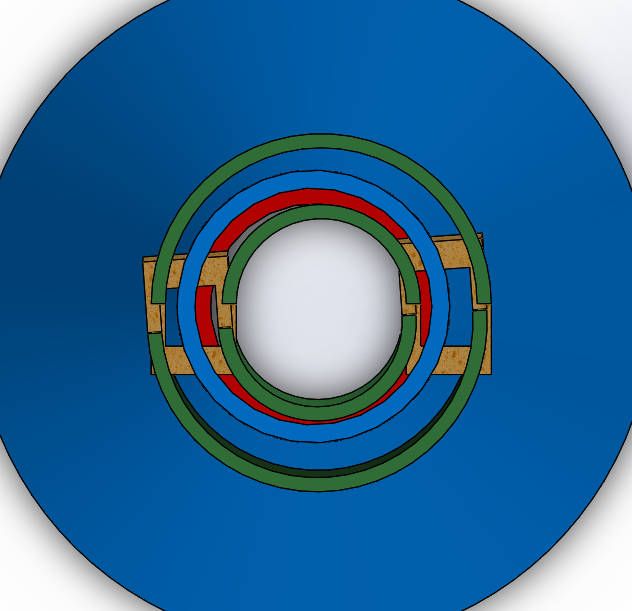
Ultimately, we decided to use an o-ring that is precisely placed on the probe before it is inserted into the device since it was the most feasible and simplest solution to this problem. We ended up using a 1.5 mm o-ring despite the probe only being 2 mm in diameter.
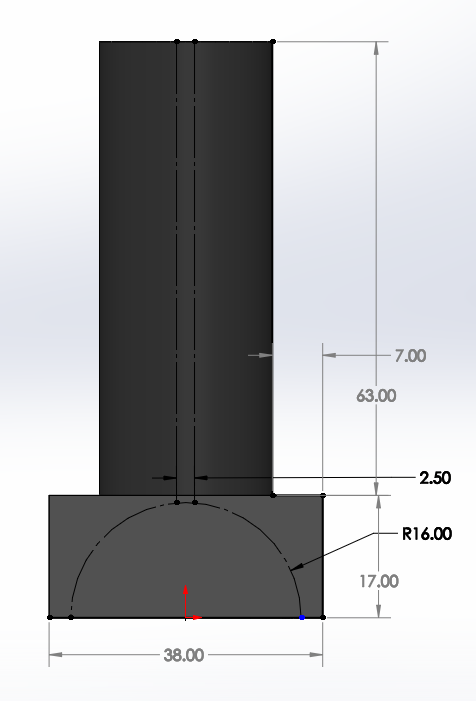
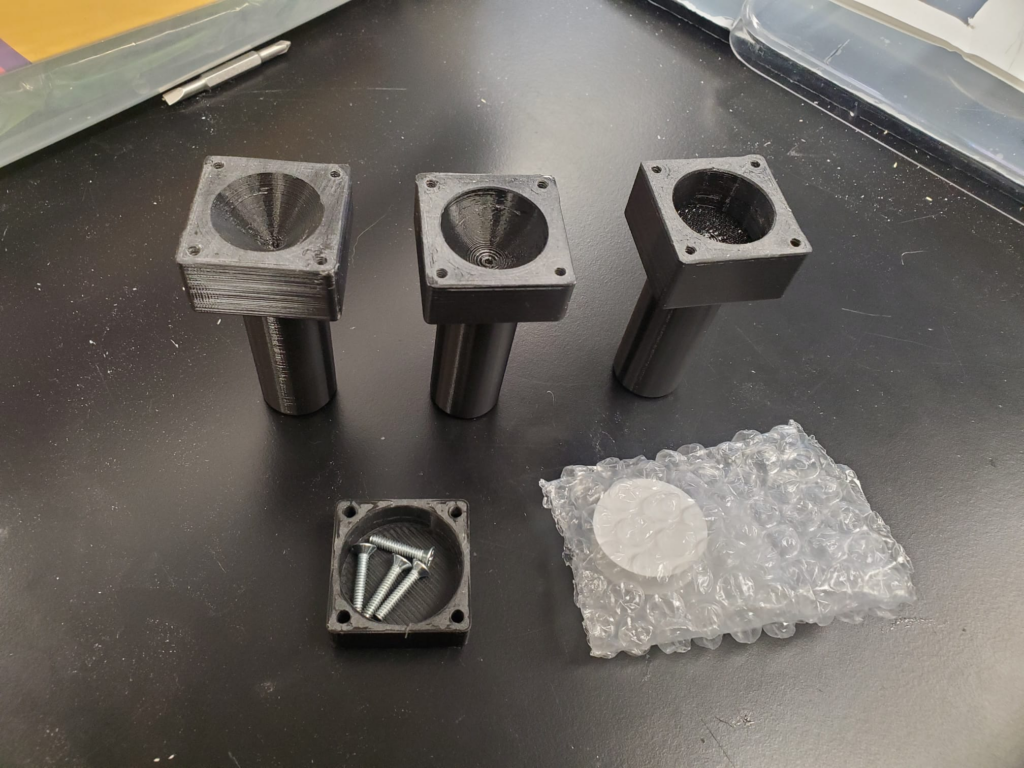
Now, our first tests were designed to find the optimal geometry of the inner cavity to minimize any secondary reflections. We 3D printed out three different cavity types: cone, cylinder, and spherical to test as can be seen below.
At this point, we needed to start performing tests on our prototype. This was divided into three main stages of testing.
Stage 1: Reflection, Precision, and Functionality Testing
For this stage, we wanted to verify that our prototype works better than the integrating sphere in 3 distinct ways: reducing interference from room light, ensuring that at least 95% of secondary reflectance is diminished, and testing that our device increases the precision of reflection measurements as compared to the results obtained from the integrating sphere.
Stage 2: Geometry Testing
For this stage, once we have verified the functionality of our prototype with one standard of material and cavity geometry, we will test to determine which cavity geometry and plastic is best optimized for carrying out the function of our device. The 3 geometries for our cavity were compared using light reduction and reflectance minimization. We tested to see if there’s a significant difference in precision, room light reduction, or secondary light minimization due to geometry during this stage.
Stage 3: Mechanical Durability and Sterilization Testing
At the conclusion of stages 1 and 2, we will have determined what our theoretically final prototype should look like and be comprised of. Now, we are verifying that our device can be re-sterilized by testing that there’s no degradation of the Spectralon over numerous autoclave cycles. This will allow us to determine whether or not our device can be made as a reusable, re-sterilizable device, or whether it will need to be single use. For this, we had our final prototype machined and subjected to many autoclave cycles, comparing the Spectralon’s physical appearance under a microscope, and whether or not there’s a degradation of standardized reflection measurement after many cycles.